This guide is meant to be an overview that covers several aspects to managing your photo collection with some examples. It’s more to provide the process and workflow for each section that can be researched further to drill down in more detail.
Photo Scanning Guide
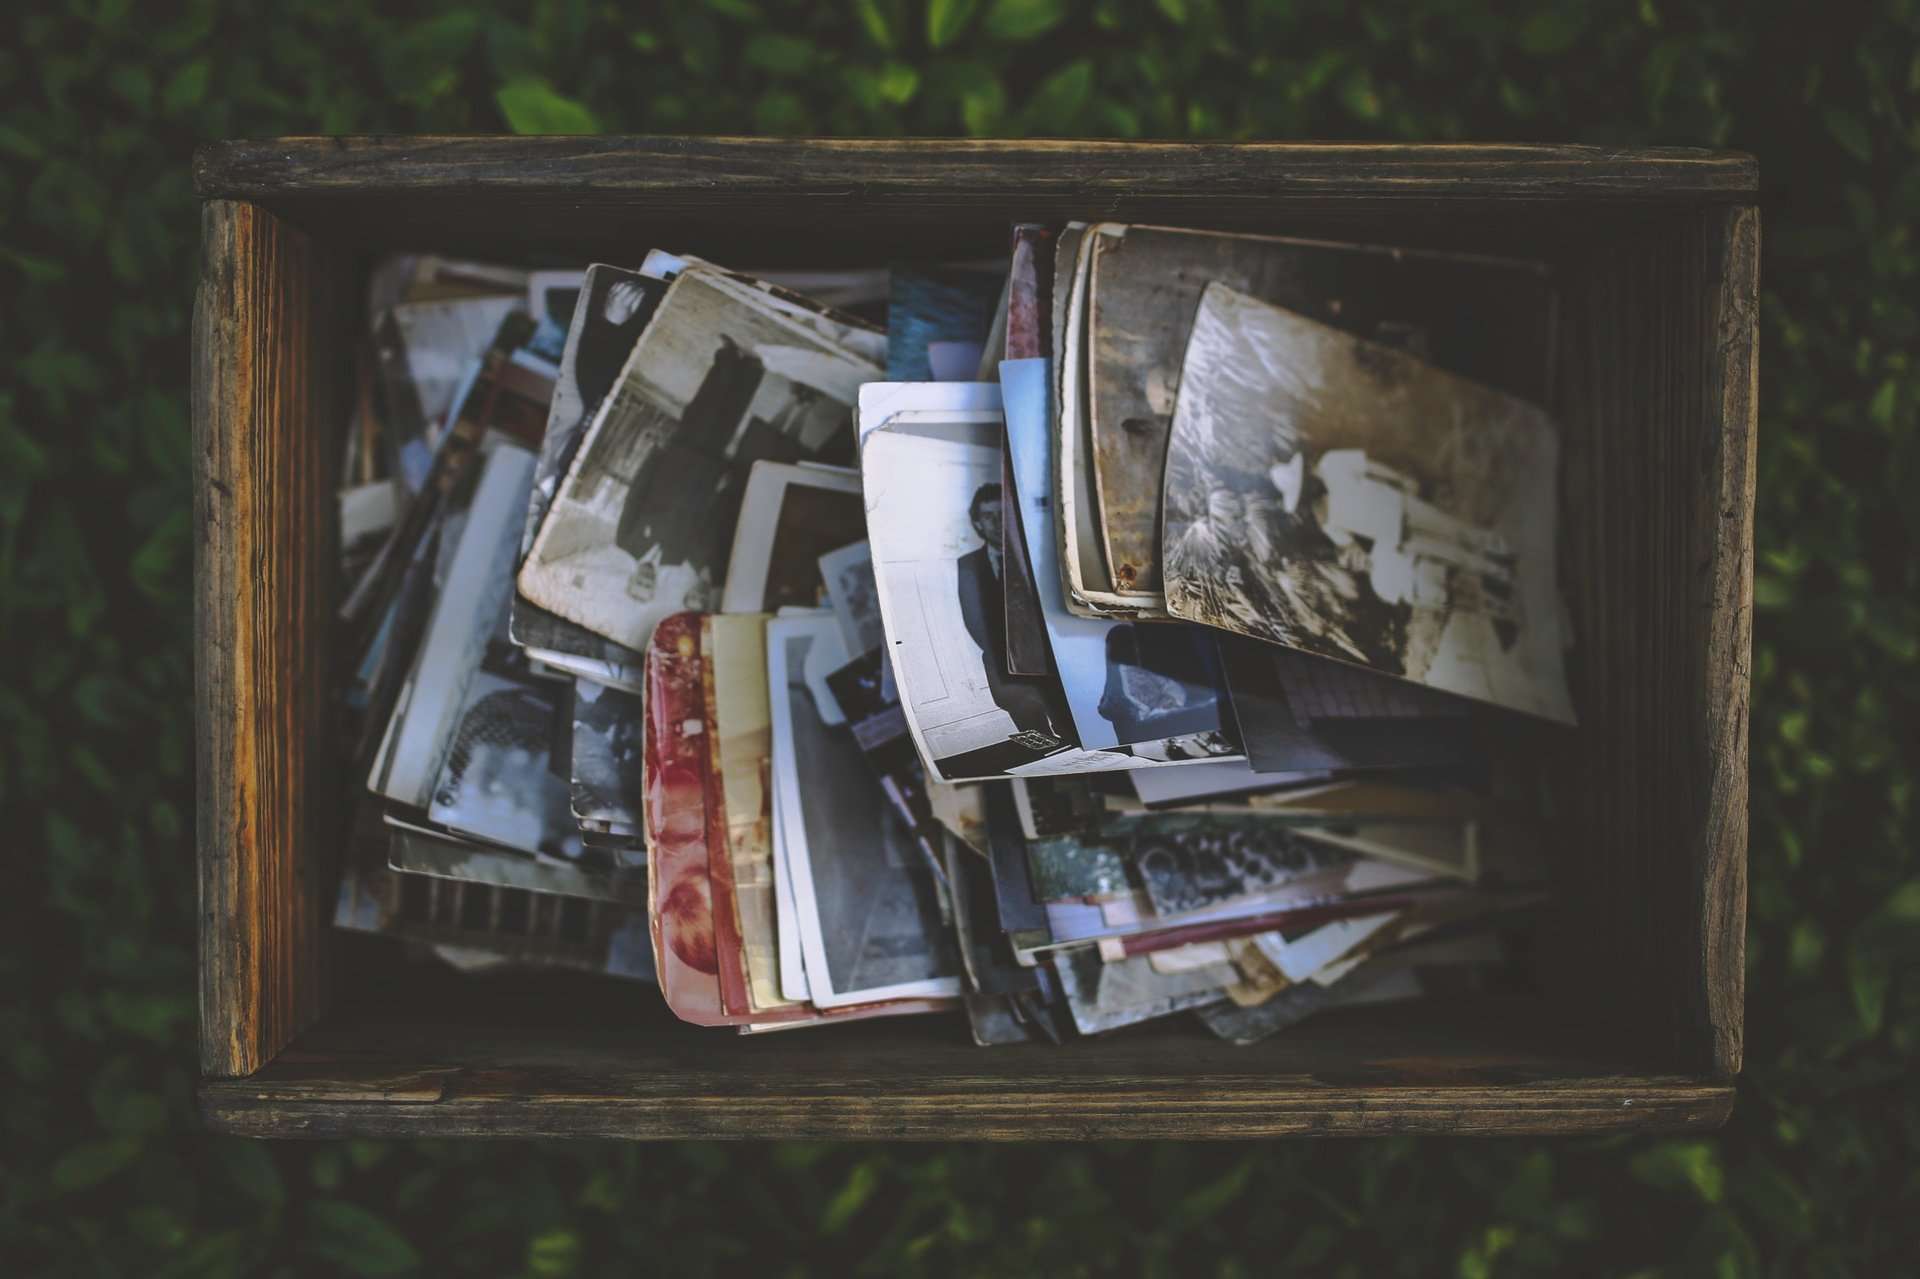
Pre-scanning Organization
The goal for this process is twofold. By organizing them ahead of scanning they will be easier to manage when they become digital files. You also want to optimize the speed at which you scan them which is done by organizing them into similar sizes.
- Organize photos into piles by size (4 x 6 together, 3 x 5 together, etc)
- At this point you should also separate photos you don’t want to scan. These can be duplicates, photos that aren’t interesting to view later, or photos of people you don’t know as some examples. You may also decide to trash some of these at this time as well.
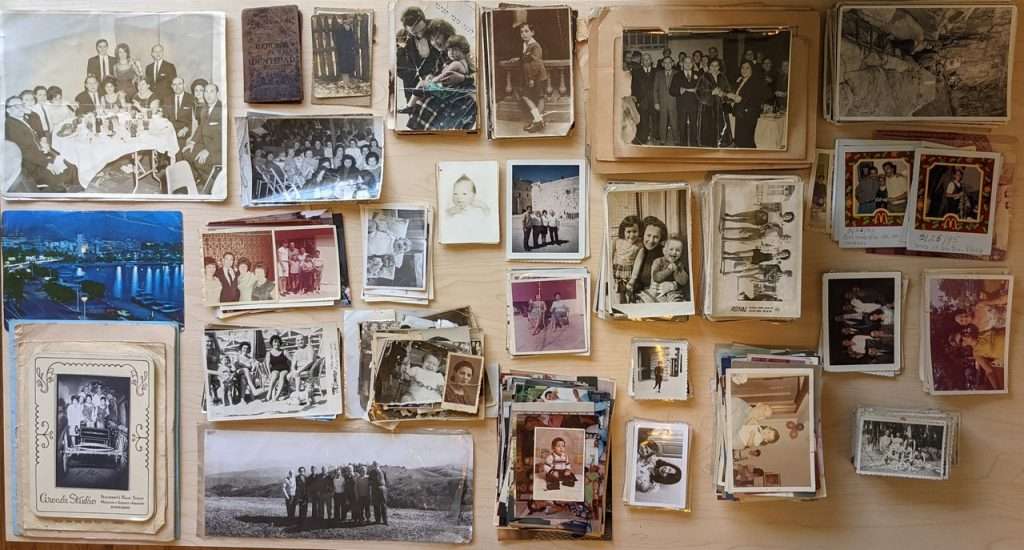
- Within each pile then organize smaller piles by general timeframes (by decades or years)
- Then once again you you may find a group that are related to an event or taken at the same time (Birthdays, weddings, etc) put these into their own piles as well
- After photos are organized you should use a dry microfiber cloth to remove any dust from each photo and make sure there isn’t any dust or sticky residue on the photos
Scanning
I have two photo scanners. An Epson FF-640 Fastfoto which is a high speed photo scanner which can scan a large batch of photos at once. I also have an Epson Perfection v550 which I use if I want to scan at a higher quality or for photos that can’t be loaded into the Fastfoto.
- Start by selecting a temporary folder on your computer to to scan your photos for review some post processing before moving them to their final destination in an organized folder structure discussed later.
- You may also want to create some sub-folders for decade, year, or special events as well to do some preliminary organizing if scanning a large batch of photos.
- Configure software based on what you are scanning. Doing some trial and error testing of your settings is a good idea before committing to being locked in and scanning big batches.
- Set the DPI resolution as desired. You may want to adjust it so that it’s higher for small photos and lower for large photos. For example 600dpi for anything smaller than an 5×7 and 300dpi for photos larger than that.
- Configure other settings your software supports such as dust removal, color correction, red-eye removal etc.
Post Scanning Tasks
- After scanning you may want to do some additional visual editing such as adjusting color, lighting, cropping, straightening, healing or other post scanning edits you want to make.
- Another step I take after scanning is to modify the Exif “Date/Time” value so that the photos can be organized by dates within the photo management programs (see below) that I use.
Scanning Services
If you don’t want to spend the money or time to scan photos yourself there are several services available that can do this for you. You can read reviews about several of these services here.
Photo Management Guide
This section covers tips for methods to organize your photo collection so that it is manageable and optimized for sharing and ways to enjoy it with friends and family.
Photo File Organization
One of the first steps you can take to organize your photos is by determining a file structure on your computer to store them. Below is my method as an example but you can modify in a way that best suits you.
- Create folders for each decade (1940s, 1950s, 1960s etc.)
- Within each decade you can then create individual years (1941, 1942, 1943 etc.)
- Then within each year you can have more flexibility better identify groups of photos but I start with creating months, then individual days with an event description (10/31/2014 Son’s Birthday)
Photo Management Software
Once you have your photos organized on your computer you may want to use software to further manage your collection and provide more advanced editing of the images. Below are some examples of some of the features these programs can provide.
- Edit photos with advanced tools to fix colors, lighting or other effects
- Edit Exif Date/Time value so photos can be organized by dates
- Edit Exif GPS value so photos can be organized by location
- You can organize photos in other ways beyond the file structure using several methods
- Add keywords or ratings to search by them later
- Use face recognition to identify people in the photos
- View photos by geographical location on a map
Visit the photo and video management apps page for a list of recommendations
Photo Utility Software
There are many programs that can further help you enhance your photos and collection.
- Duplicate photo finder – helpful for finding duplicate photos you’ve scanned or taken to remove them from adding storage space and clutter to your collection
- Here’s a utility for Windows that I use called Awesome Duplicate Photo Finder
- You can find reviews of several utilities for Mac here
Cloud Photo Management and Sharing
- I highly recommend using Google Photos. You can automatically backup and store your mobile photos as well as photos stored on your computer in the cloud. It offers great photo management and sharing options. I wrote an article a while back but they’ve since added many more features making it indispensable for me.
- Amazon Photos is another alternative for storing photos in the cloud
- Microsoft Photos (OneDrive support for Cloud)
- Mac Photos (iCloud Support)
- Plex (Media management software for PC & Mac that allows private collection sharing)
Backup Photos
You should have a strategy to backup and preserve your photos. This includes backups of the files within your home as well as backing up your files to the cloud. This is important because if your photos are destroyed in a fire or if the data is stolen in a burglary you will still have access to them.
- Use software on your computer to back up the photos to a second drive location. This could be a secondary or external hard drive.
- Subscribe to a cloud backup service. There are recommendations on the apps page.
Additional Resources
- Extensive guide for preserving old photos
- You can visit Scan Your Entire Life for all aspects regarding scanning photo collections